
Nano Banana is a codename that Google uses for its Gemini 2.5 Flash Image model. This model works for image generation and image editing. With this model, you can restore photos, add color to old black and white images, or generate creative images from text prompts.
Read Also: Nano Banana Photoshop Plugin Free Download
The official Nano Banana model from Google is a paid service. This means if you want to use it in your app or website, you must set up billing. For students and beginners, a paid option is not always the best choice.
For this reason, we use a free option that comes from the open-source community. This option is Stable Diffusion. It is an AI model that takes text as input and gives an image as output. Stable Diffusion is free, and you can run it on platforms like Google Colab, Kaggle Notebooks, or Hugging Face Spaces.
In this tutorial, you will learn how to use Stable Diffusion to make your own Nano Banana style model. It is free and easy to try for anyone, even if you are new to AI tools.
Read Also: Nano Banana & Flux Kontext Ai Script for Photoshop Free Download
Free Tools We Can Use
When you build your own Nano Banana style model, you do not need to spend money on expensive hardware. There are free platforms that give you access to powerful GPUs and hosting. These tools make it possible for students and beginners to explore AI without cost.
1. Google Colab
Google Colab offers free GPU access for a limited time each day. You can run notebooks online, write Python code, and test AI models directly in your browser. It is one of the easiest ways to start with Stable Diffusion.
2. Kaggle Notebooks
Kaggle Notebooks also provide free GPU access. The interface is similar to Colab, but Kaggle gives a different environment that some users find more stable. You can upload data, run models, and share notebooks with others in the community.
3. Hugging Face Spaces
Hugging Face Spaces allow you to deploy AI models online for free. After you train or customize a model, you can host it on Spaces so others can use it through a simple web interface. It is useful if you want to share your project with friends or make a small AI app.
With these free tools, anyone can run Stable Diffusion and build a Nano Banana style model without paid servers.
What is Stable Diffusion
Stable Diffusion is an open-source AI model that can turn text into images. You write a prompt, and the model gives you an image based on your description. For example, if you type “a rocket in the shape of a banana flying in space”, Stable Diffusion can generate a picture that matches the idea.
This model is free for everyone and has strong community support. Developers and artists around the world use it to create digital art, restore photos, or design creative projects.
When we talk about a free alternative to Google’s Nano Banana, Stable Diffusion is the best option. It gives you similar features for image generation, and you can run it on free platforms like Google Colab, Kaggle, or Hugging Face.
With Stable Diffusion, you can explore AI art, experiment with prompts, and even customize the model for your own style.
Step-by-Step Guide (Free)
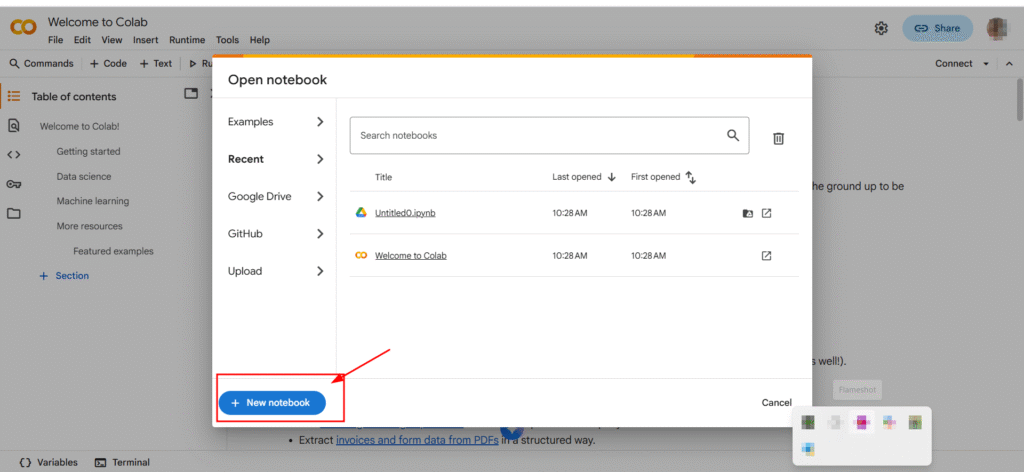
Step 1: Open Google Colab
To start, you need access to Google Colab. This is a free platform from Google that runs code in the cloud. It gives you free GPU time that is enough for basic AI projects.
- Go to https://colab.research.google.com
- Sign in with your Google account
- Click on New Notebook to begin a fresh workspace
Now you have a blank notebook where you can write Python code and run it without installing anything on your computer.
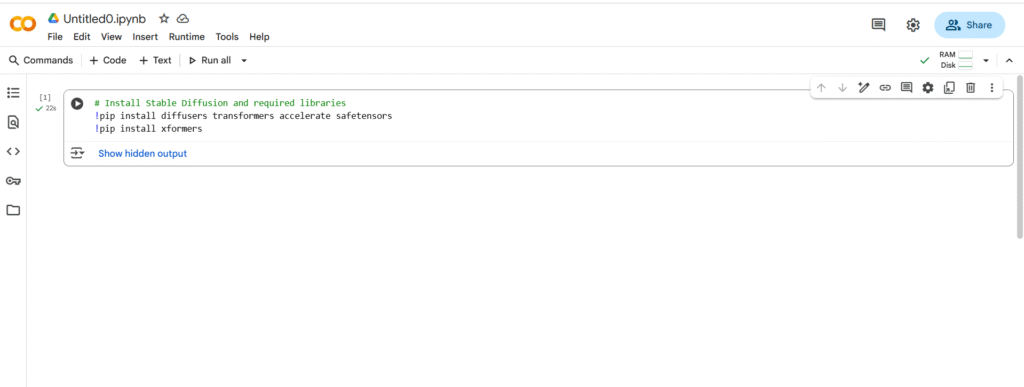
Step 2: Install Stable Diffusion
Once your Colab notebook is ready, the next step is to install Stable Diffusion. This is done by running a short Python code.
👉 Copy and paste the code below into a new cell in your Colab notebook, then press Shift + Enter to run it:
Stable Diffusion Installation Code
Below is the Python code for installing Stable Diffusion and required libraries:
# Install Stable Diffusion and required libraries
!pip install diffusers transformers accelerate safetensors
!pip install xformers
Code snippet for installing Stable Diffusion dependencies
What this code does:
- diffusers → provides Stable Diffusion tools
- transformers → helps process text prompts
- accelerate → makes the model faster on GPU
- safetensors → loads model files safely
- xformers → speeds up image creation

When the installation finishes, you will see a message that the packages are ready. Now your notebook can use Stable Diffusion to generate images.
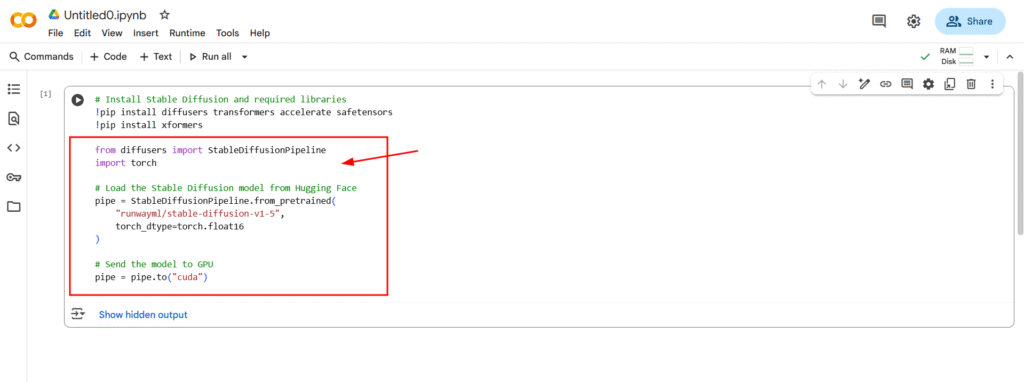
Step 3: Load the Pre-Trained Model
After installing Stable Diffusion libraries, the next step is to load a pre-trained model. This model already knows how to turn text into images, so you do not need to train anything from scratch.
We use Hugging Face to get the model. Hugging Face hosts many open-source AI models for free.
Python Code:
Stable Diffusion Model Setup Code
Below is the Python code for setting up a Stable Diffusion pipeline using the diffusers library:
from diffusers import StableDiffusionPipeline
import torch
# Load the Stable Diffusion model from Hugging Face
pipe = StableDiffusionPipeline.from_pretrained(
"runwayml/stable-diffusion-v1-5",
torch_dtype=torch.float16
)
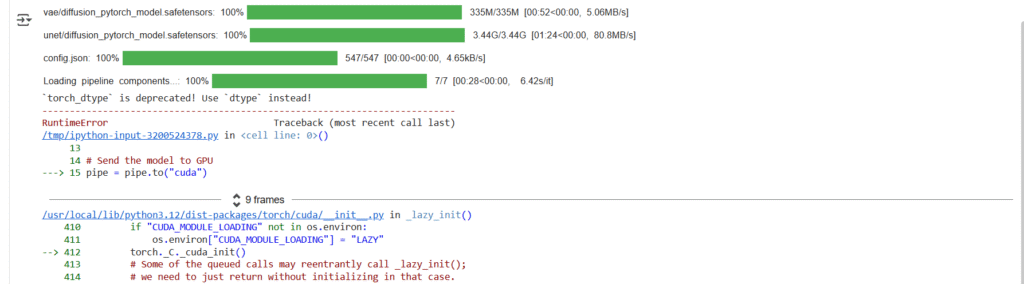
# Send the model to GPU
pipe = pipe.to("cuda")
Code snippet for initializing Stable Diffusion with GPU support

Step 4: Generate Images
Once you install Stable Diffusion and load the model, the next step is to create your first AI image.
- Write a Prompt
A prompt is a short text that tells the AI what kind of image you want. You can describe the style, colors, objects, and mood.
Example:
Stable Diffusion Image Generation Code
Below is the Python code for generating an image of an astronaut riding a horse on the moon using Stable Diffusion:
prompt = "a photo of an astronaut riding a horse on the moon"
image = pipe(prompt).images[0]

# Display the generated image
display(image)
Code snippet for generating an image with Stable Diffusion
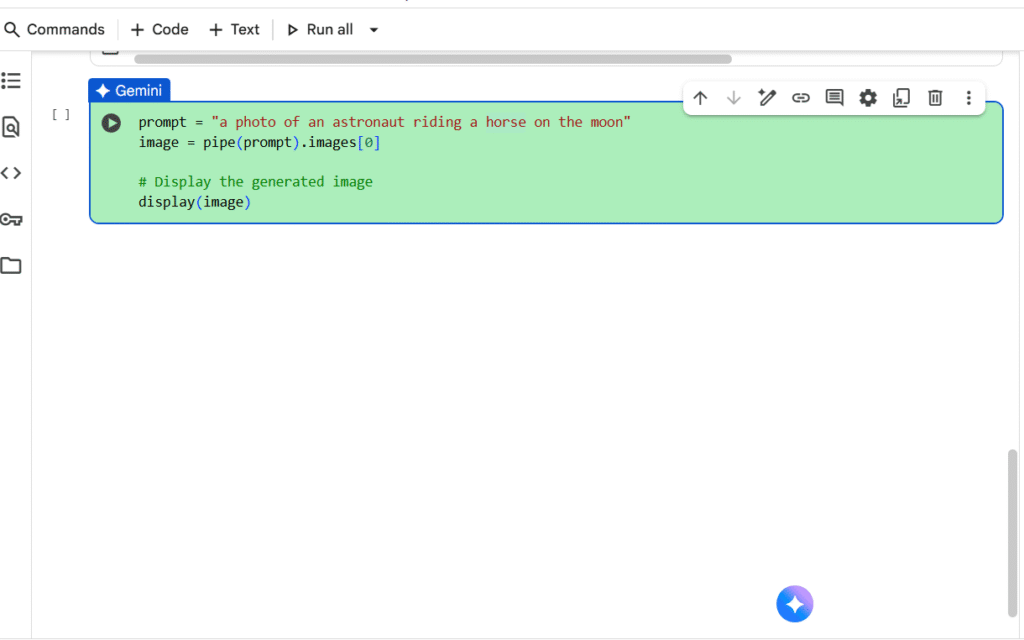
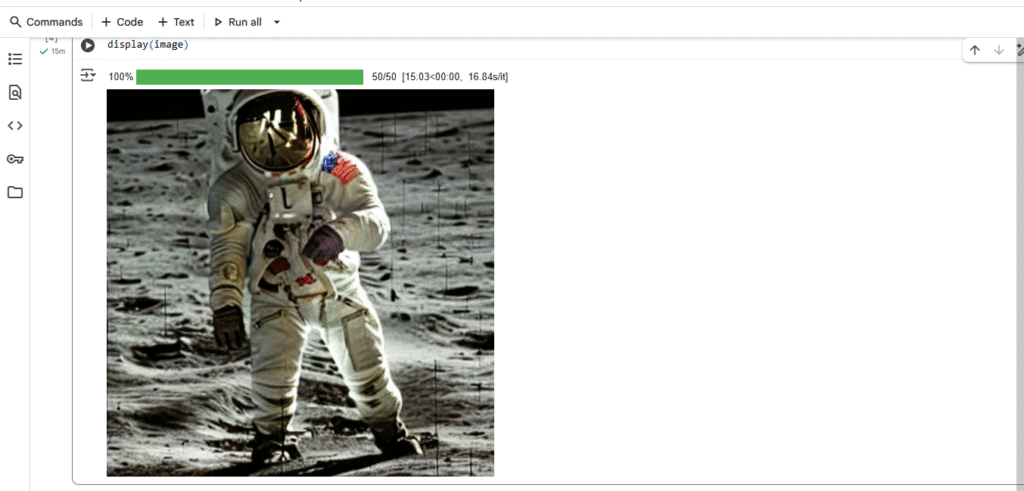
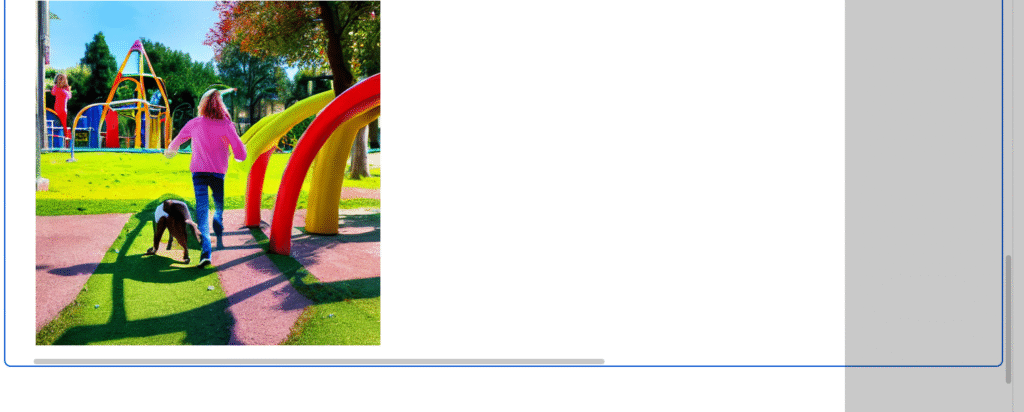
Image Generation Code
Below is the Python code for generating a photorealistic image of a dog in a children’s park:
prompt = "a friendly dog walking in a vibrant children’s park, colorful playground equipment, children playing in the background, sunny day, photorealistic, ultra-detailed, high resolution, realistic textures, bright and cheerful atmosphere, cinematic lighting, 8k resolution"
image = pipe(prompt).images[0]

# Display the generated image
display(image)
Code snippet for generating a photorealistic image using a machine learning model
Step 5: Make Your Own Custom Model (Optional)
If you want your Nano Banana style to be unique, you can create a custom model:
- Use DreamBooth or LoRA
These tools let your model focus on one character or style. You do a short training session, and your model learns your character better. - Prepare Your Dataset
You only need 20–30 images of your character or object. The model uses these images to learn the style. - Get Your Result
After training, your model can create images that match your Nano Banana style only.
Step 6: Deploy Online for Free
Once your model is ready, you can share it online for free:
- Use Hugging Face Spaces
This platform gives free GPU and hosting. You can make a web app where people generate images directly in the browser. - Create a Simple App
Use Gradio to make a simple interface:
Image Generation Tool Code
Below is the Python code for the Gradio-based image generation tool:
import gradio as gr

def generate_image(prompt):
    return pipe(prompt).images[0]

gr.Interface(fn=generate_image, inputs="text", outputs="image").launch()
Code snippet for Gradio image generation interface
This lets you run a Nano Banana image generator online.
3. Share Your Model
Once deployed, anyone worldwide can use your app for free.
Conclusion
- The official Nano Banana is free only as a demo, and the API costs money.
- Using Stable Diffusion, you can make your own Nano Banana style model without paying anything.
- This is perfect for students, beginners, and anyone who loves AI, and it helps you learn while being creative.


Leave a Comment